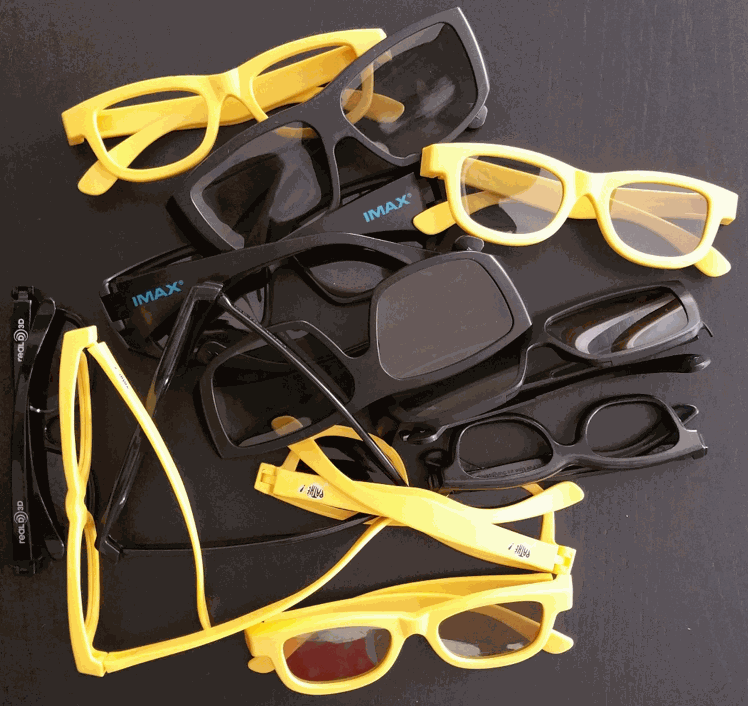
We took an 3D pen with temperature control to allow it to use EasyFil™ PLA and EasyFil™ ABS and gathered all the little 20 and 30 gram leftovers from big prints we had laying around. The temperature control allows us to make sure the selected filament melts into the sunglasses. By adding a few degrees its easy to make it all stick together. The “glasses” can usually be easily removed by pressing them out of the fixtures.
So after the first prototype where we just freestyled the 3d printing and made a nice looking object, we wanted to do something a little more challenging. We decided on a batman design. Please note we are no design specialist here, so forgive our crude designs.
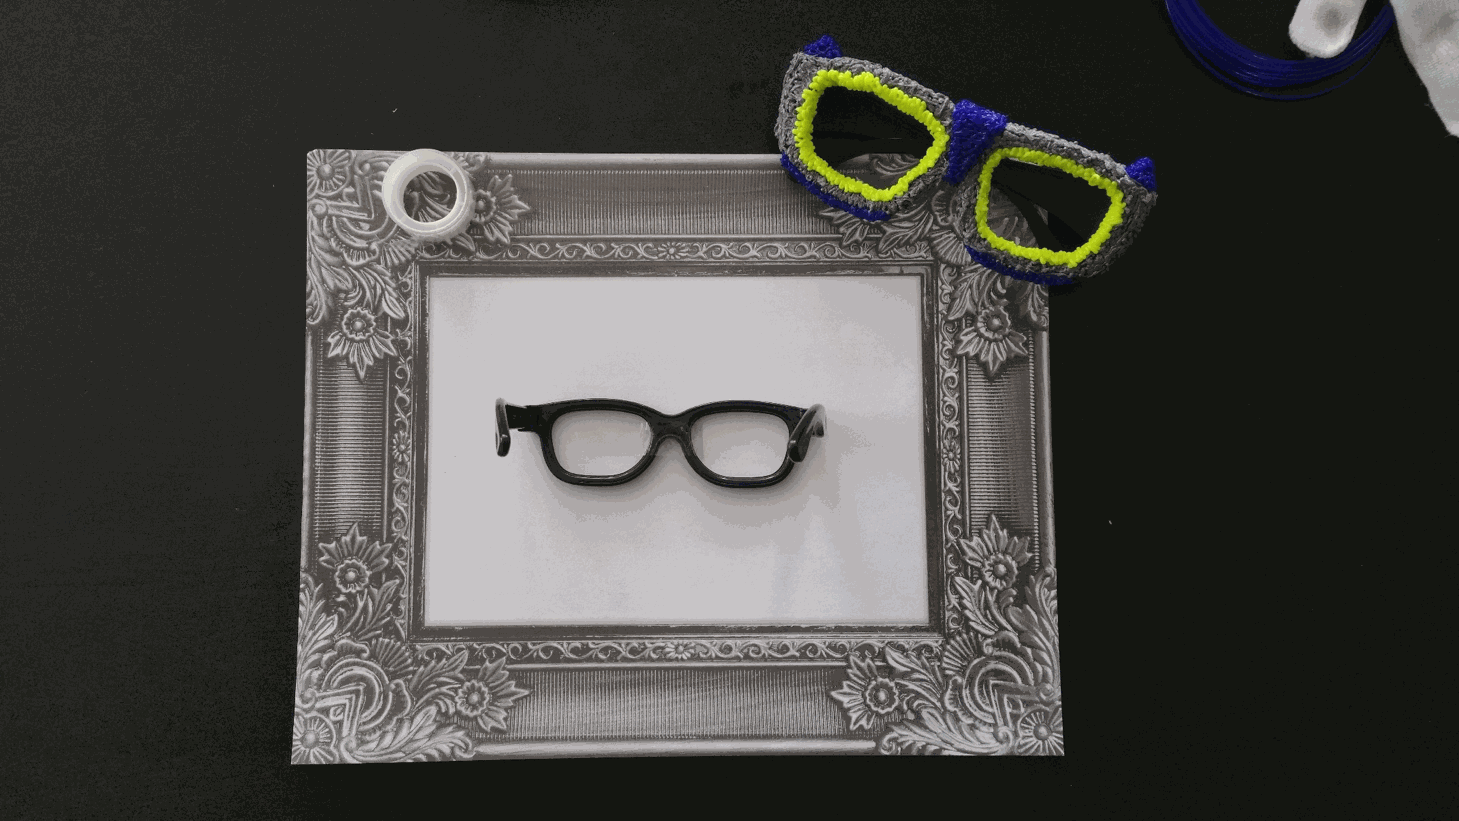
First we taped the fixture to a blank sheet of paper.
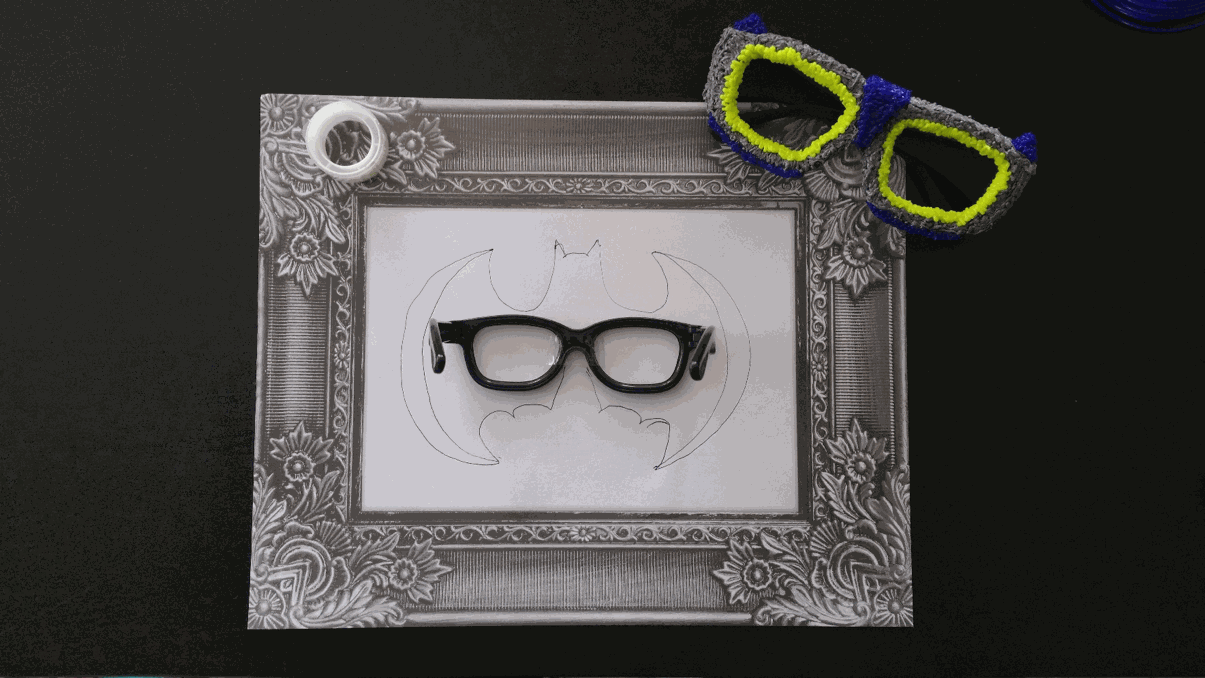
Then we drew a rough outline of the batman design around the fixture.
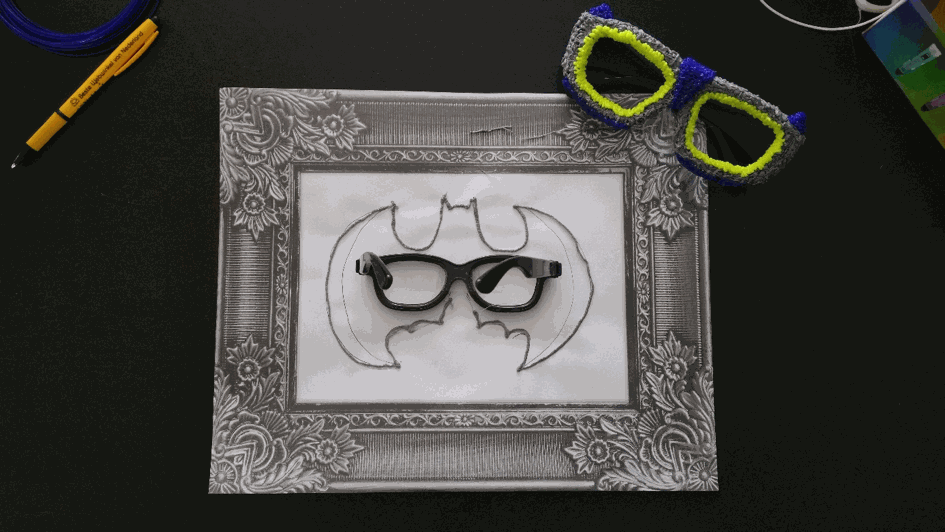
We then took the 3d pen and traced the drawing to get a good idea of how its going to look.
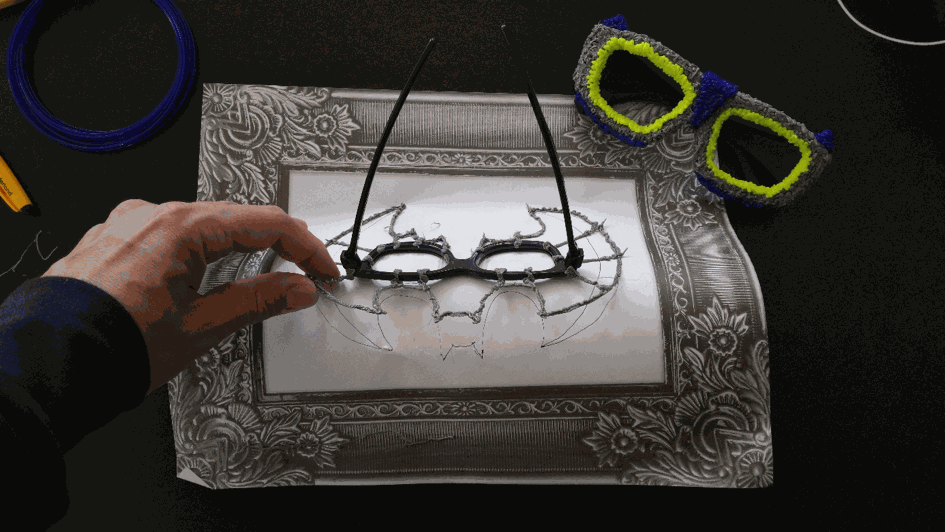
Don't worry about making mistakes, the filament is easily removed from the paper and can easily be adjusted. As you can see in the picture, we made large overlaps where the filament leaves the paper and flows over the fixture to form a wireframe. This makes sure that the whole is sturdy enough for filling up the gaps.
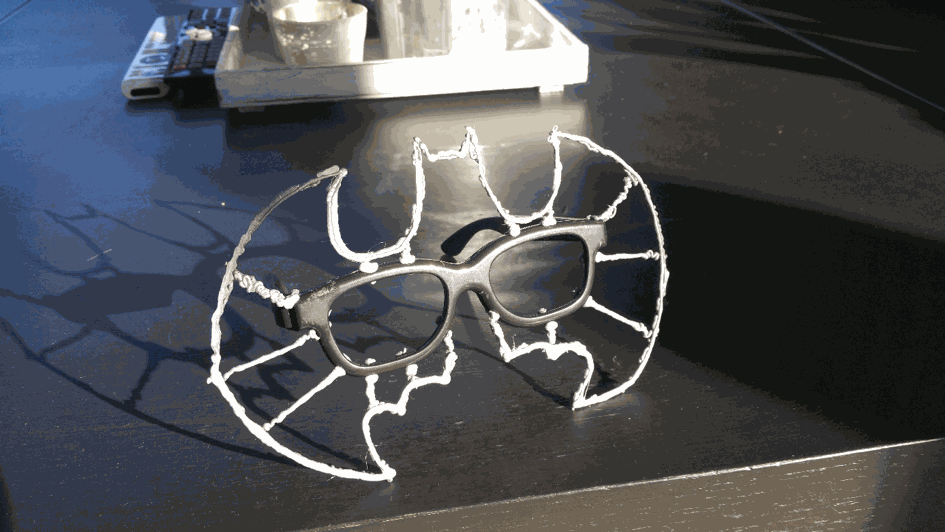
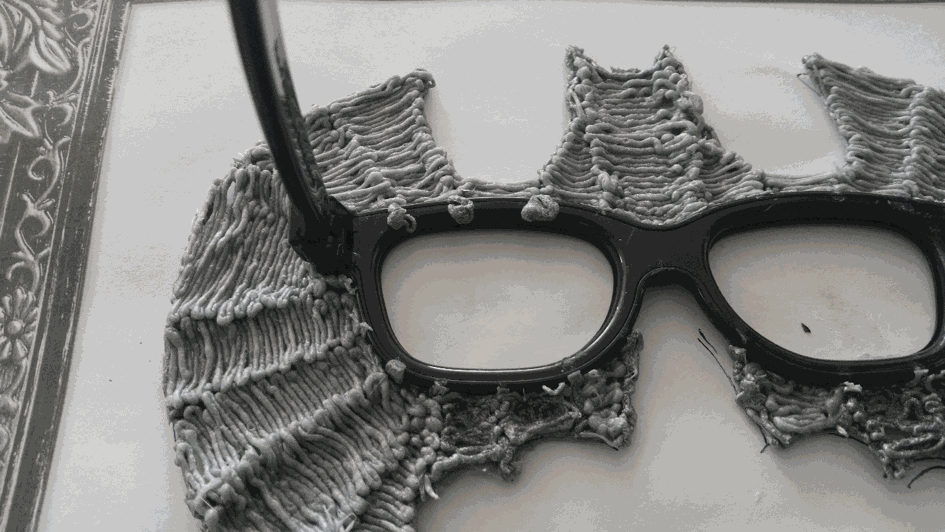
Next step is to fill in all the gaps.
You want to make sure you fill up the gaps surrounding the fixture well as they provide the connection between filament and fixture. After everything is filled up you can cut off the parts used to fix the wireframe to the fixture as they can make wearing the glasses less pleasant.
Next step is the decoration.
After making sure the whole design is fully filled up, you can start decorating using any EasyFil™ PLA or ABS colour.
Feel free to decorate your glasses just the way you like it!
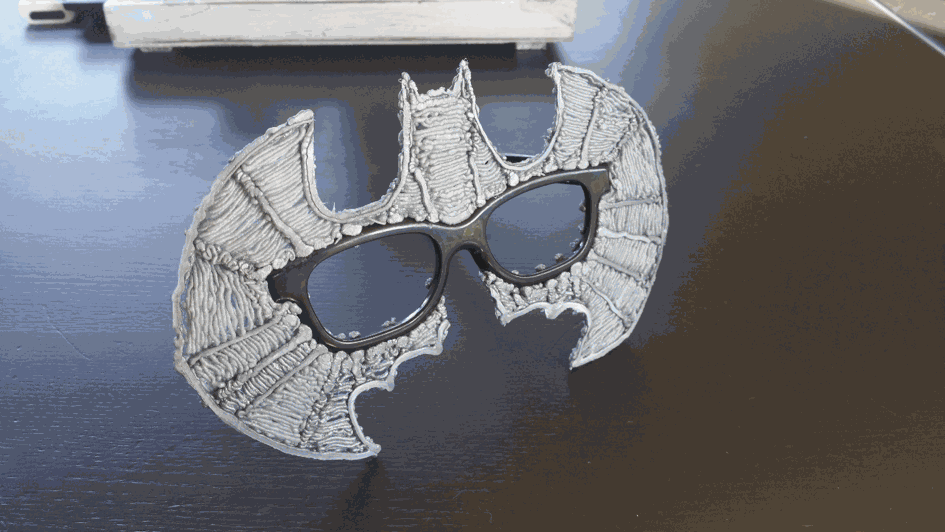
The end result: Batman!
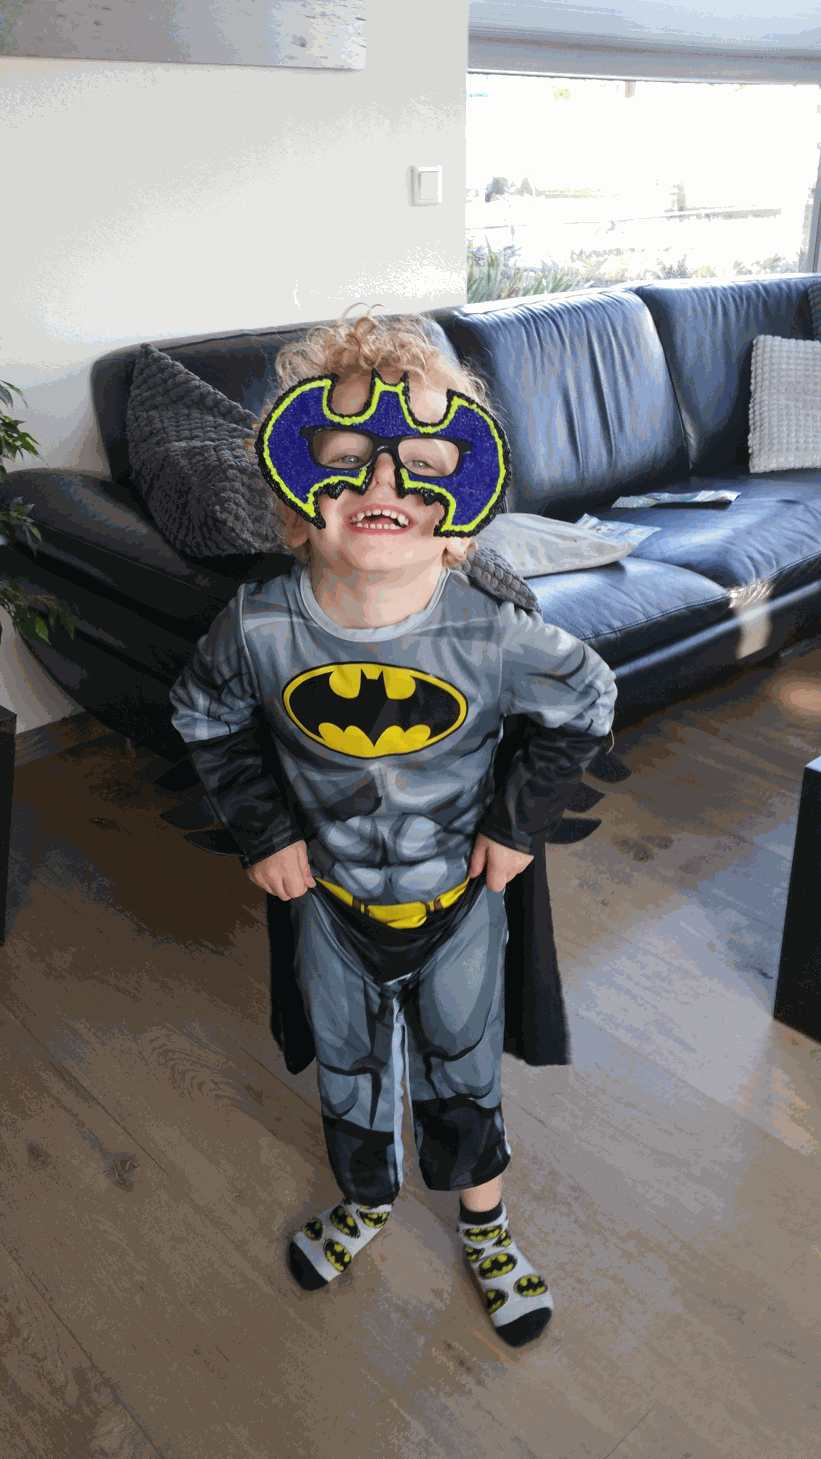
Have fun!
